
July 7, 2026
Website Design for Restaurants: Features That Drive Bookings
To get bookings and increase engagement, your restaurant website needs to have the key features that cater to your customer’s needs and your business goals.
Published On: July 29, 2025
Published By: Designocracy

Building a custom web application can be a daunting project. But with a clear focus and a stepwise method, you can create an application that works perfectly for you. In this article, we will go over 10 straightforward steps that will allow you to build a custom web application from the ground up, including planning, launching, and post-launch activities.
The purpose of the application should be the first thing to be decided when working on a custom web application. While this may seem trivial, it can be foundational for future steps. Having a clear purpose helps with focusing on critical elements of the application and saves on time avoiding unneeded tweaks later on.
What problems will the application resolve? Who is the target user? What benefits will it give to the target user? Spend time finding answers to these questions, as it will make the entire development cycle seamless.
Consider this: if you are developing an e-commerce application, its objective will be to enable users to navigate through products and make purchases. On the other hand, if the application is a project management tool, its objective will be to aid teams in task organization and collaboration. Having a specific goal will simplify feature and design decisions.
Think back to that first web project you tackled. How did you pick which functionalities to include? Was there a realization moment where you understood the goal? Narrating that moment will enable readers to empathize with the journey of defining an app's purpose.
Now, with the purpose consolidated, the next step is to plan the app's features. At this stage, you are determining the functionalities and what the app needs to fulfill that purpose.
Begin with everything which you think will be relevant to the app. Imagine an online store does not include a comprehensive product catalog, a shopping cart, or a streamlined checkout process. In contrast, a project management app would be lacking in task management and team collaboration, and adherence to schedules.

Once you have a list, ordering the features in the list now allows prioritizing the features. Focus on the essential features first, the things that are absolutely needed for the app to function. Any additional features can be incorporated in future iterations.
Have you ever faced the challenge of narrowing a list of features to a single use case? I imagine you wanted to add a myriad of features, but in the end, you had to strip it all down to something very simple. By sharing that story, it can be demonstrated to others the importance of focus on a single core use case.
One of the most important, if not the most important, choices in a custom web application development is choosing the correct technology stack. Most important, the technology stack determines the functionality of your app and how it will scale in the future. A wrong stack can create a lot of problems in terms of performance and other matters in the future.
In the case of a custom web app, you would need three main components:
Frontend (User Interface): Everything that the end-users interact with is the application interface. The graphical interface can be built using HTML and CSS, and, if the application is more sophisticated, scripting languages such as Java would be added. More complex applications will use frontend frameworks like React or Vue.js.
Backend (Server-Side): All things like database management and user authentication are part of the backend. That way, the user and business data are kept safe. Popular backend technologies are Node.js, Ruby on Rails, or Python with Django.
Database: Your app requires a place to keep data such as user profiles or transaction records. Some of the popular databases are MySQL, MongoDB, and PostgreSQL.
Your app's stack must be aligned with your team's area of expertise, the app's requirements, or how available (scalable) the app might have to be in the future. Take your time and evaluate what your project requires before you start developing.
Have you ever been at a crossroad and had to decide which technology to go for in a project? You might have been choosing between two backend frameworks or a frontend libraries. Your experience and the choices you describe highlight the thought process for such decisions which will be informative to others.
The app must be designed with an easy-to-navigate user Interface as the user's experience affects the app's success directly.
You do not need to be fully qualified to prepare a design that functions well, but as a bare minimum, you want it to be organized and user friendly. Pay attention to smooth user flows, decisive calls to action, and overall a good looking design.
Designs are best left to the professionals, instilling confidence in their expertise. One such example of a design studio that can help bring your vision to life is The Designocracy. Their experience in creating user friendly and visually appealing designs can help ensure your app looks and works great.
When was the first time you actually noticed how critical a design was in an app or a website? Think back to a website or an app you used that was simple to navigate. Reflecting on such an experience can be a great reminder in life and anchor one to a good design.
You want to put the user experience design into practice and begin with the application. The smoothness and responsiveness of the interface is very critical as it shapes your branding.
Begin with the page's structure, which you can accomplish with HTML. Following that, you can move onto the stylistic aspects with CSS, while the interactivity can be done with JavaScript. For more advanced apps, you can also utilize frontend frameworks such as React, Angular, or Vue.js. They greatly facilitate the creation of advanced, interactive, and dynamic user interfaces.

Development of the frontend should be done with care, and ensure that it is optimized for all screen sizes and is compatible with all devices. It is preferable for the design to be responsive, considering that users mostly access web applications and sites through their mobile devices.
Think back to the last time you worked on a project frontend. What was the challenge you faced? Was there a specific feature that was a problem, or was it making the page responsive? The way you explain how you overcame it can be the inspiration readers need to help them out of their roadblock.
This is the part of the web application that houses the logic and information. In this area, all the processes that involve data occur like user authentication, user data storage, processing of data, maintaining users and their requests, and all backend servicing that is needed by the frontend.
For you to build the backend, you need to create a server, develop an API, and integrate a database with your app. The backend verifies the credentials, retrieves user data, and relays it to the front end, which displays it to the user.
Security is one of the most important concerns in backend development. You should have processes in place to secure sensitive information, including passwords and credit card data. It is important to safeguard sensitive data using encryption, implementing secure authentication, and checking for exploits on a regular basis.
Have you dealt with challenging backend issues before? Perhaps it was a sensitive data breach issue, or a complex database query issue. Sharing such stories would emphasize the significance of a strong backend architecture.
Most web applications depend on other services for user login, email, and even processing payments. Other services would really be of great help as you would not have to spend time and effort rebuilding features.
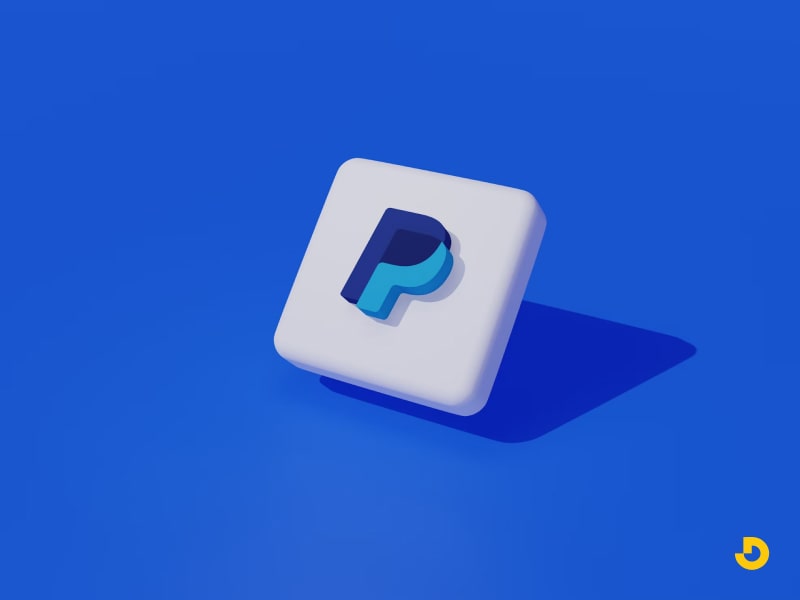
One good example is an e-commerce app where you can integrate payment services such as Stripe or PayPal. You can also use Firebase for user authentication and Mailchimp for automated emailing.
For third-party services, they must be trustworthy and able to integrate smoothly with your app. They should also align with your app's objectives. Make sure to do ample testing for smooth functionality in conjunction with your app.
Perhaps you have a story about issues you faced with a third party's service and how you resolved those problems. Sharing these types of stories can assist many who are facing similar problems.
To develop a web application, it's important to ensure testing is done to verification standards. Errors and bugs can significantly reduce user experience quality, and result in frustration. Rigorous testing is necessary prior to launch.
Start with unit testing, which evaluates separate components of your app. After that, proceed to integration testing; this involves evaluating the inter-operation of various components of the app. Lastly, conduct user testing to evaluate how users interact with the app and find areas for improvement.
Recollect a moment when a skipped step in your testing process escalated complications later on. Maybe there was a feature that ticked erratically, or a bug that you overlooked until it was far too late. Lessons of this nature emphasize the importance of testing, in this case, testing multiple times in greater depths.
As soon as your application is done undergoing testing, you can proceed to launch it. But wait, remember to check your hosting environment, traffic expectations, and prep it to a greater scale. Performing these checks is especially critical to the last checks before going live.
Having a second breather before going full throttle is augured. You can first issue the application to a reduced user base before wide release, to permit bug tracking and performance warnings.
Think back, your first few launches. How were they? How was the mood? Rest assured feeling nervous is a shared idea. There tend to be several issues, but it is crucial to remember to sit back and focus on the optimally working parts and how to further expand these.
Monitoring ought to be done to identify issues, of rare to frequently persistent errors. Fixing these issues also scales user acceptance problems - one of the important aspects in performance scales post upload is the metrics.

Gathering user feedback is critical at this point. Make sure to ask your users frequently for their thoughts, as this can help guide improvements. While adding new features or making updates to existing ones, keep the user journey at the forefront.
Consider an application or webpage that underwent an update for improvements. Maybe they underwent an update for improvements. Tell the readers about the different ways an app or webpage can undergo iterative improvements for optimization.
| Development Phase | Key Actions | Tools & Technologies | Pro Tips |
|---|---|---|---|
| 1. Planning & Definition |
- Identify core problem to solve - Define target users - Establish success metrics
Your Story: Share when you realized an app's true purpose mid-development
|
User research tools Flowchart software |
Start with "Why" before "How" |
| 2. Feature Prioritization |
- List all potential features - Categorize as must-have/nice-to-have - Create MVP scope
Your Story: Describe cutting a beloved feature to meet deadlines
|
Product roadmaps JIRA/Trello |
80/20 rule: 20% of features deliver 80% of value |
| 3. Technology Selection |
- Choose frontend framework - Select backend language - Determine database type
Your Story: When a tech choice made or broke a project
|
React/Vue.js Node.js/Django SQL/NoSQL |
Match tech to team skills, not just trends |
| 4. UI/UX Design |
- Create wireframes - Design user flows - Establish design system |
Figma/Sketch Adobe XD |
Design for thumbs (mobile-first) |
| 5. Frontend Development |
- Implement responsive layouts - Add interactivity - Optimize performance
Your Story: The CSS hack that saved a project
|
HTML/CSS/JS React/Angular |
Test on real devices early |
| 6. Backend Development |
- Build APIs - Implement auth systems - Set up data processing |
Node.js/Python REST/GraphQL |
Document every endpoint |
| 7. Third-Party Integrations |
- Payment processors - Auth providers - Analytics tools |
Stripe/PayPal Firebase/OAuth |
Always have fallback options |
| 8. Testing & QA |
- Unit testing - Integration testing - User acceptance testing
Your Story: The bug that almost shipped
|
Jest/Cypress Selenium |
Test unhappy paths most |
| 9. Deployment |
- Choose hosting - Configure CI/CD - Monitor performance |
AWS/Heroku GitHub Actions |
Do staged rollouts |
| 10. Maintenance |
- Collect user feedback - Fix bugs - Plan iterations |
Analytics tools Error monitoring |
Budget 20% time for maintenance |
| The Designocracy Edge | Professional teams combine technical expertise with user-centered design principles. Recent project: Built a custom CMS that reduced client's content update time by 70%. | ||
Conclusion:
Developing a custom web application is an adventure filled with exhilarating moments. By describing your purpose, planning the features, selecting the right technology, designing the interface, and testing, following these building blocks, the application will serve the users and function efficiently.
The most important thing is to remain user focused, take things slowly, and improve progressively. Throughout the journey of building web applications, the gap for learning becomes wider and optimizing becomes easier. With every application made, problem solving and creating impactful solutions will improve.